So you’ve chosen XSplit Gamecaster as your weapon of choice when it comes to an app that’ll help make your stream look more professional and easier to manage – good call!
 In this guide we’ll get you up to speed on just how to set everything up and use Gamecaster, no matter if you’re a new streamer, or a seasoned vet who’s making the switch from OBS.
We’ll begin with the essentials so you can get your stream up and running as soon as possible, and then go into the extras and more advanced features you might want to play around with as you get more comfortable with the app and continue to grow as a streamer.
Let’s get into it shall we?
QUICK START GUIDE
If you haven’t already, you can download XSplit Gamecaster here.
Once you’ve got it installed, the first thing you’ll need to do when opening up the app is to connect to whichever platform you’re streaming to.
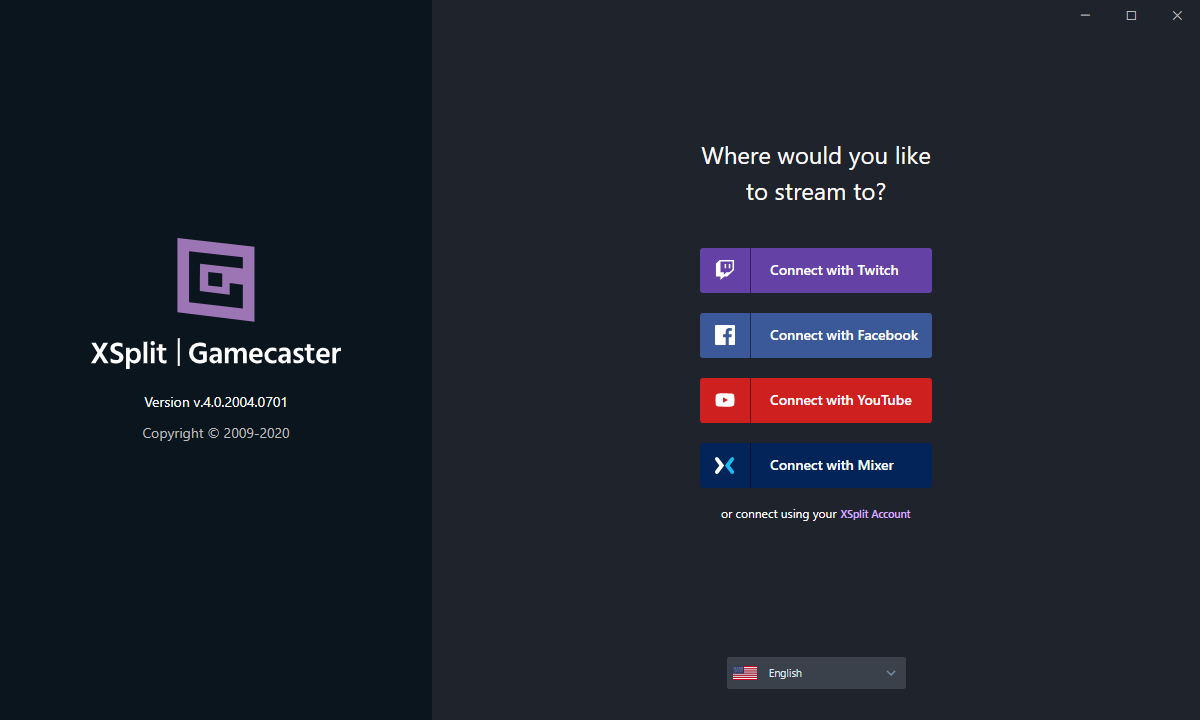
After you’ve authorized your account you’ll now be able to set everything up to start streaming!
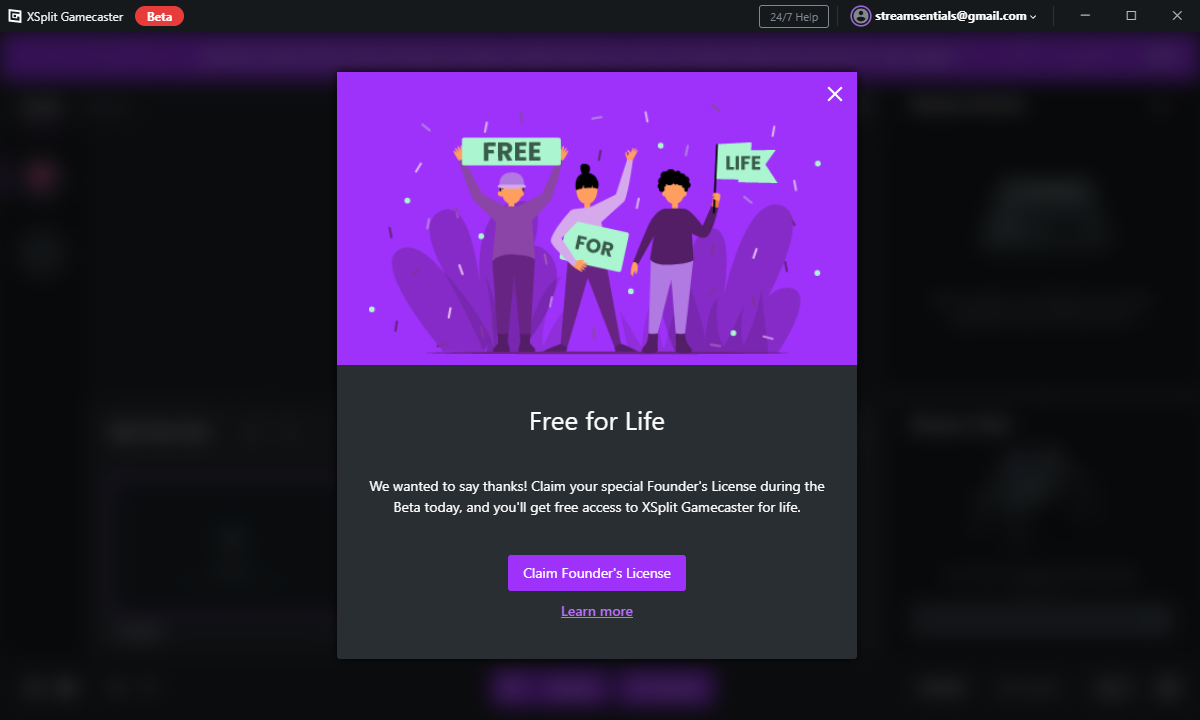
*If you’re following this guide during their beta period you’ll be able to claim their Founder’s License, which gives you full access to XSplit Gamecaster for free, for life.
SCENE SETUP
Whether you plan on streaming with overlays or just pure gameplay, you’ll need to set up at least one scene in order to broadcast from Gamecaster to your streaming platform.
In the default set called, “My First Set” you’ll see the option to add a scene. Click it!
You’ll now have the option to create your own scene or use one of XSplits 300+ premade themes.
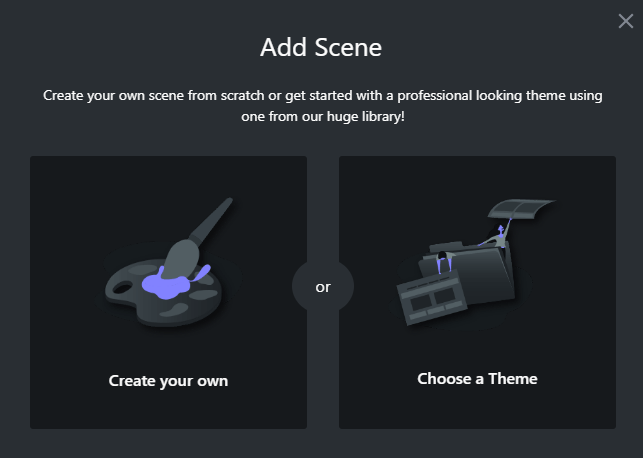
If you have your own overlays and graphics that you’ll be using or don’t plan on using any at all then select the, “Create your own” option.
If you want to browse XSplits library of professional looking graphics then select the, “Choose a Theme” option.
Once you’ve got your first scene created, you can edit it by hovering over the scene with your mouse and clicking the pencil icon that says, “Edit”.
Here you’ll find a ton of different customization options, which we’ll go through later on in this guide, but for now just know that this is where you can add, remove, and edit any of your overlays for this specific scene.
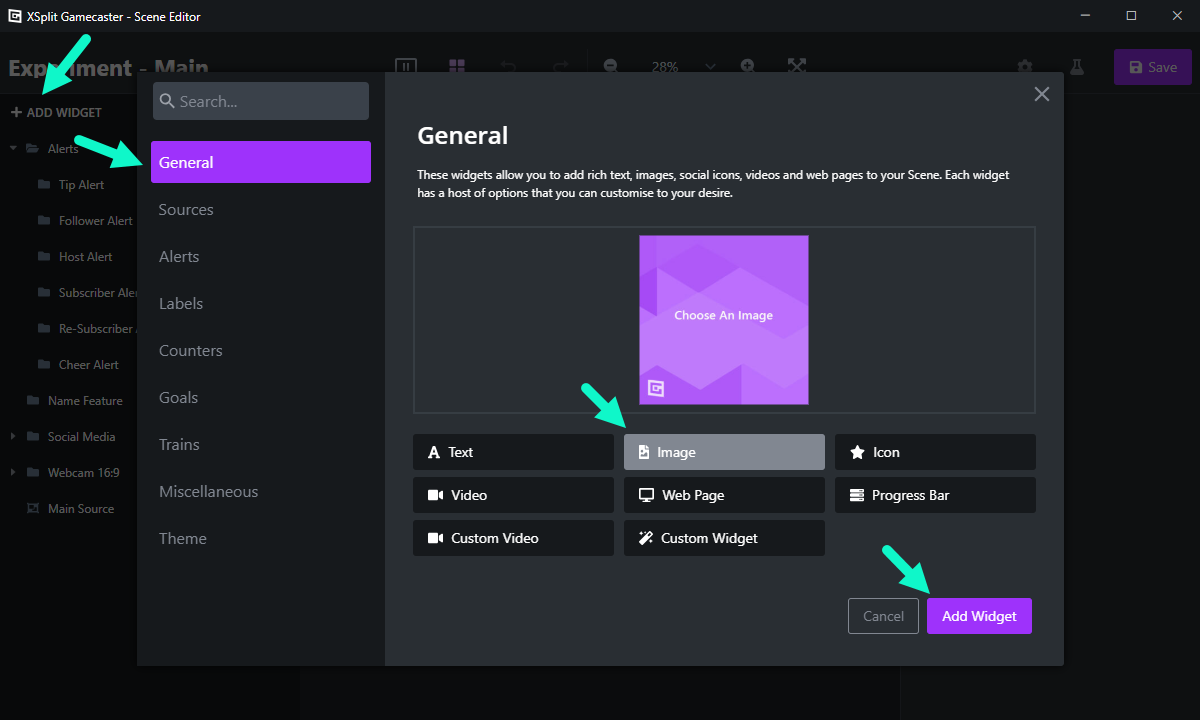
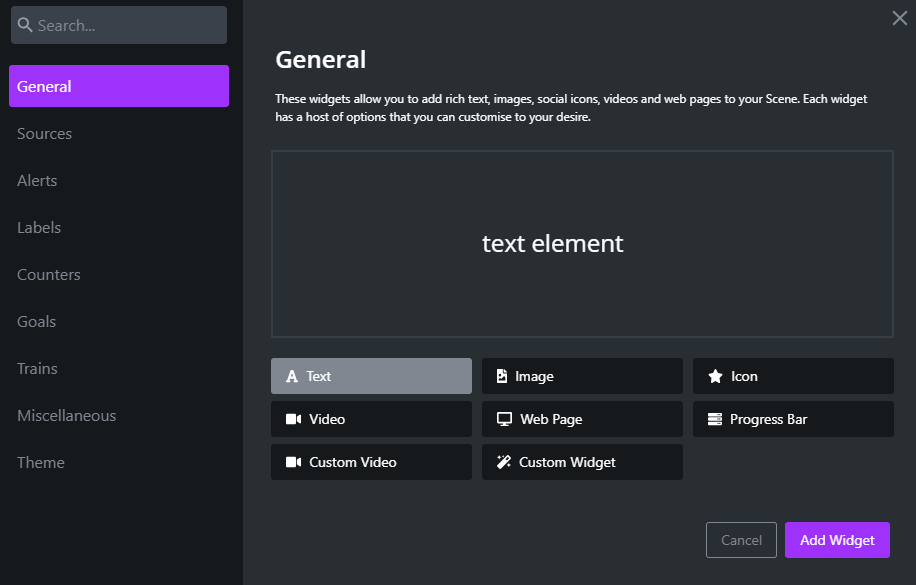
So if you’re wanting to add your own overlay(s) to this scene, click on ADD WIDGET > General > Image > Add Widget, and then from there you can upload your graphics.
VIDEO / AUDIO SOURCES
When you’re happy with how your first scene looks, we’ll now need to connect the right video and audio sources to Gamecaster so that you can properly display your gameplay and webcam for streaming, and have the right system and mic sounds.
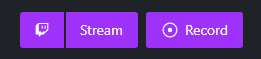
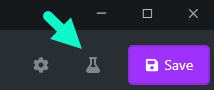
To do this, look at the bottom left of your Gamecaster screen and you’ll find four individual icons that look like this:
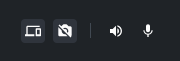
And represent the following:
Main Source – This is for your primary video source. Gameplay, screen capture, etc.
Camera Source – This is for your webcam.
System Sound – This is your primary audio source. Gameplay, music, etc.
Microphone – This is for your microphone.
So go ahead and connect your appropriate video and audio sources through here.
START STREAMING
You’re now ready to start your first live stream with XSplit Gamecaster!
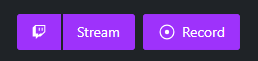
Make sure you’re connected to the right platform you’re wanting to stream on, then click the, “Stream” button found at the bottom center of your Gamecaster screen.
*By default, Gamecaster will choose your streaming settings for you (i.e. your resolution, bitrate, etc.). If you’re wanting to customize these settings, then continue reading below where we’ll show you how to do just that, plus more.
ADVANCED GAMECASTER FEATURES & SETTINGS
Now that you know the basics of getting your stream set up and going live using Gamecaster, let’s get into some of the more advanced features to really get the most out of the app.
STREAM SETTINGS
Here’s how you can fine tune and take complete control over your stream output settings so you can customize things like your bit rate, resolution, and frame rate.
Click the Settings cog wheel on the bottom right of XSplit Gamecaster, then under the Streaming tab you’ll see the Custom option, click that.
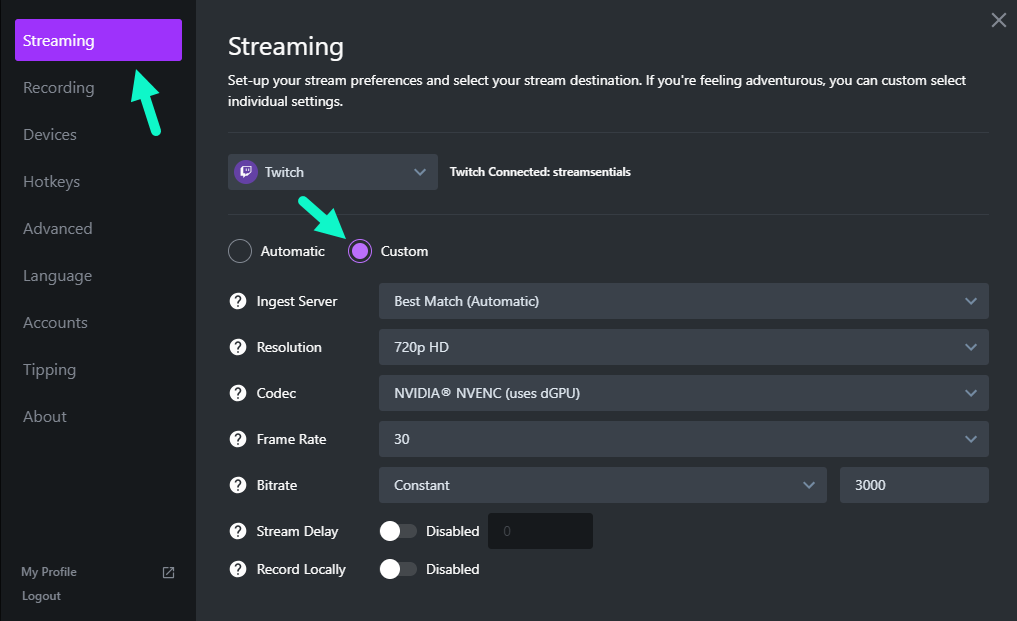
You’ll now have the option to customize each individual setting so you can optimize your stream based on the quality you’re able to output with your current internet speed and PC specs.
We won’t go into too much detail for these settings since they’ll vary on an individual user basis, but here are some things to consider:
Ingest Server – The “Best Match” option is usually the best option. If you’re noticing a poor connection, try selecting one of the individual servers with the lowest ms.
Resolution – 720p and 1080p are the most popular choices here. If higher quality video is important for you and your computer can handle it, go for 1080p. Otherwise go with 720p, since most viewers won’t notice much of a difference, and some won’t even have a good enough internet connection to handle how much data watching Twitch uses at 1080p anyways.
Codec – Depending on your graphics card (AMD vs NVIDIA) you should have at least two codec options here. Using your GPU for your codec is what most streamers use for the best performance. If you’re noticing some lag using your GPU, then try the x264 option.
Frame Rate – Choose between 30 or 60 fps. 60 fps is more taxing on your system, so keep that in mind if you’re wanting to stream at that frame rate. Also if you’re wanting to stream at 60 fps, make sure the game(s) you’re playing actually support it. Most consoles are 30 fps for example.
Bitrate – This will vary based on your own internet speeds and what streaming platform you’re using. You can use these bitrate guidelines for Twitch, these for Mixer, these for YouTube, and these for Facebook.
Stream Delay – This is for setting up a delay for how long it takes for your viewers to see your stream from when things actually happened live. Most use this if they’re getting stream sniped and want to make it harder for them to find/join the same game as the streamer.
Record Locally – Use this option if you want to record your stream to your hard drive as you’re streaming live.
GAME CASTER HUD
A really cool feature from XSplit is their Gamecaster HUD. When you’re in a game, you can simply hit CTRL + TAB and you’ll open up a full screen overlay of key stream information and control options (only visible to you, not your viewers).
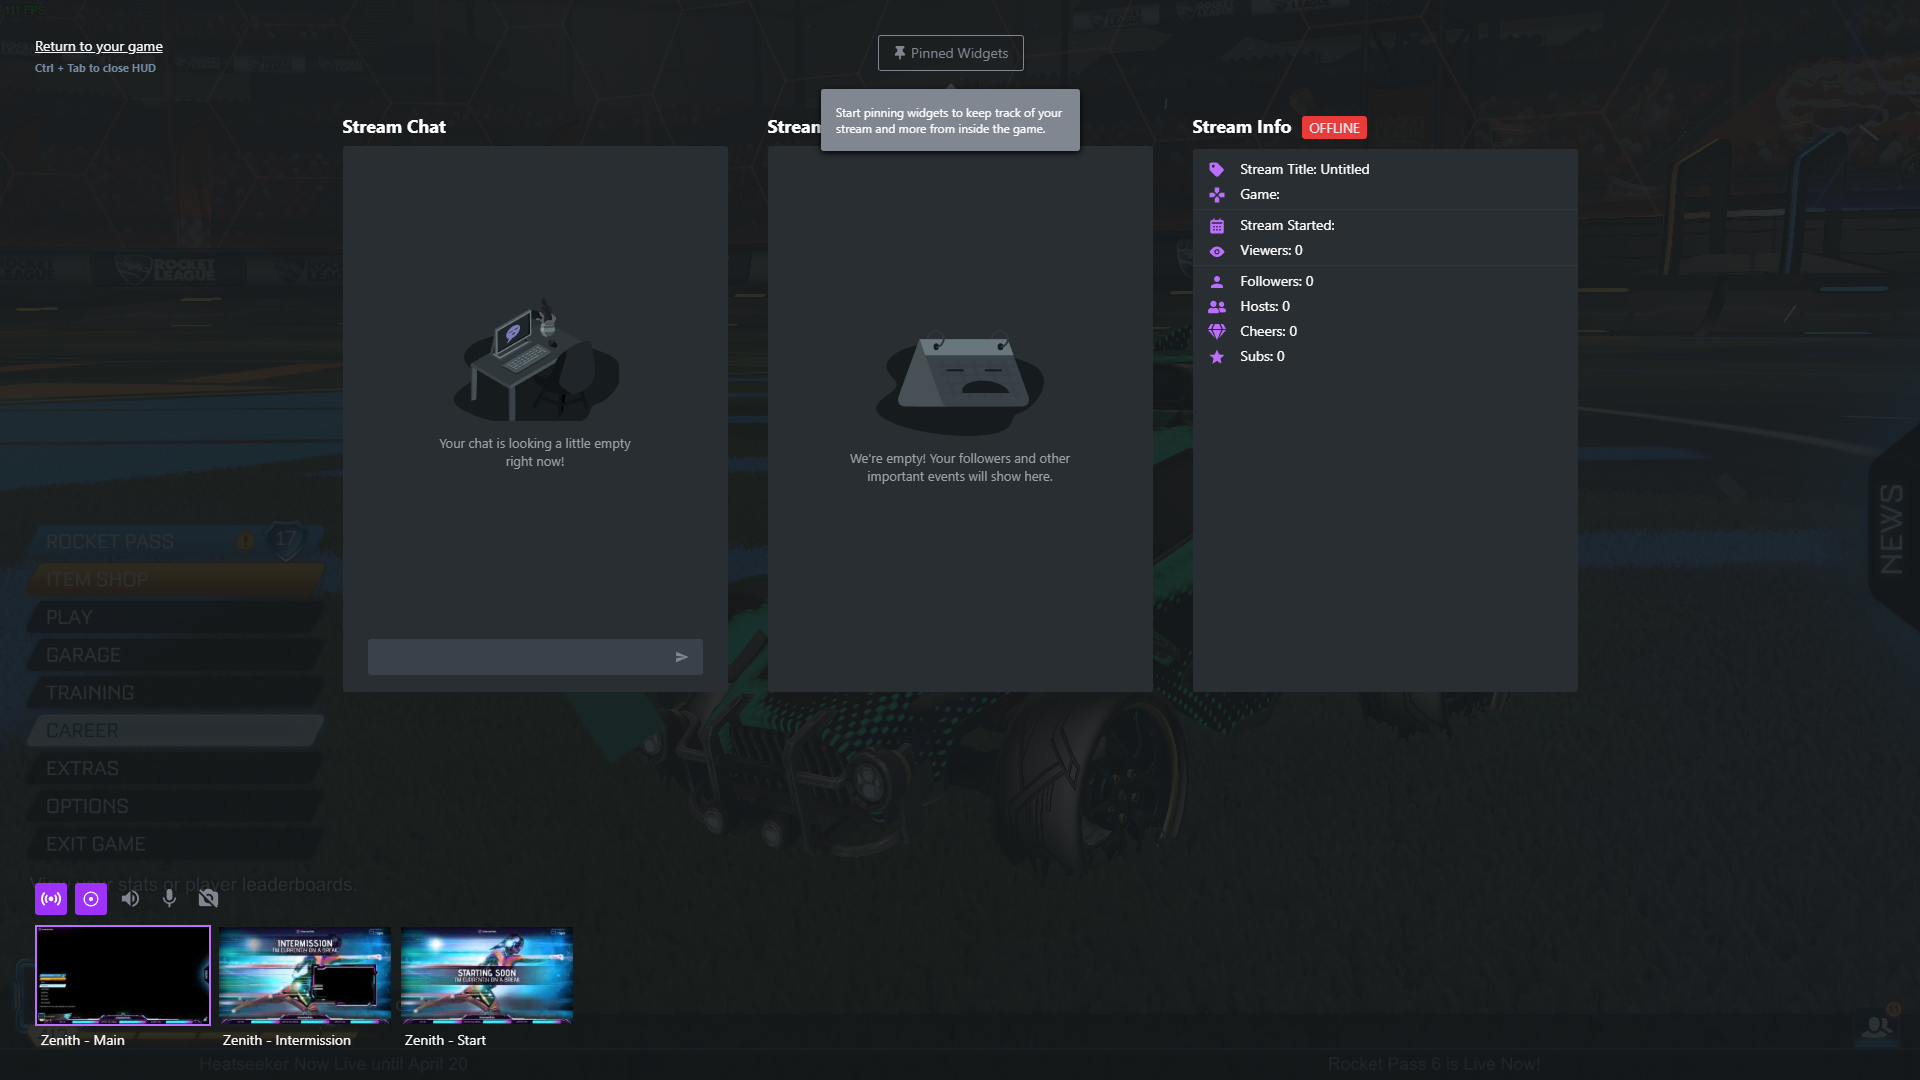
From the Gamecaster HUD you can do things like:
- Go live and/or end your stream.
- Start recording locally.
- Change your stream title.
- Change or mute your audio sources.
- Hide your webcam video feed.
- Change scenes.
- View your chat, events, and viewer count.
You can also pin widgets to your screen, like your chat and recent events (i.e. new followers or donations). Again, only visible to you.
This is a perfect solution for those who stream using one monitor. You can now view your chat and events without having to alt-tab!
RECORDING
If you’re looking to record your gameplay or capture your screen rather than stream it, then here’s how to do that:
In XSplit Gamecaster go to Settings > Recording > Custom.
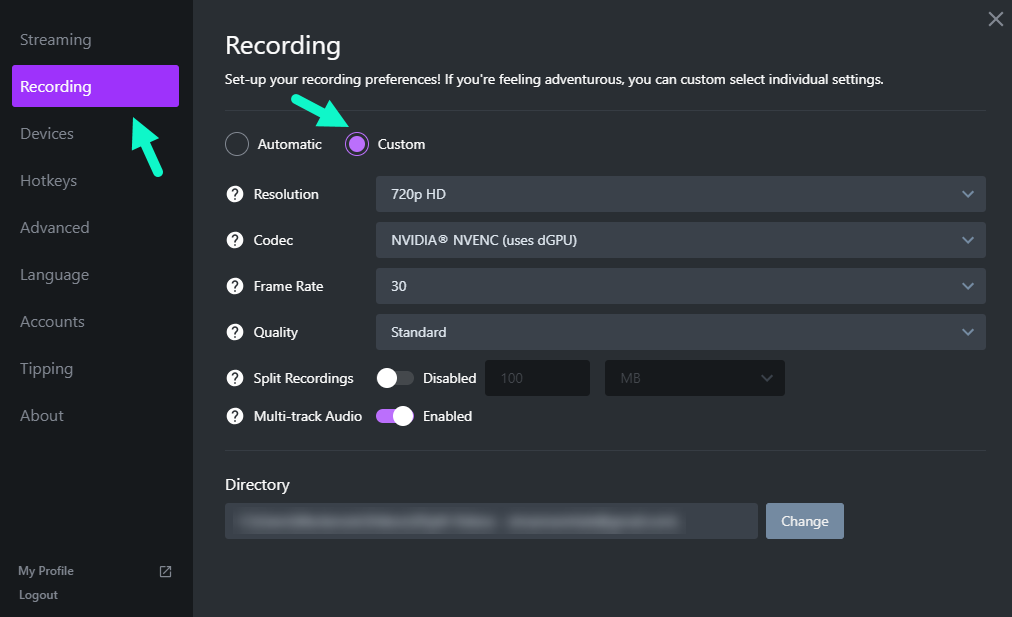
Now you can customize your video recording settings to match the quality you’re trying to achieve.
When your settings are all good, you can hit the Record button found next to the Stream button at the bottom center of the main Gamecaster screen.
*If you’re wanting to stream and record at the same time, make sure you have the Record Locally setting checked in the streaming custom settings.
HOTKEYS
In the Gamecaster settings you’ll find the option to add/edit keyboard shortcuts for better control of your stream. These are called Hotkeys.
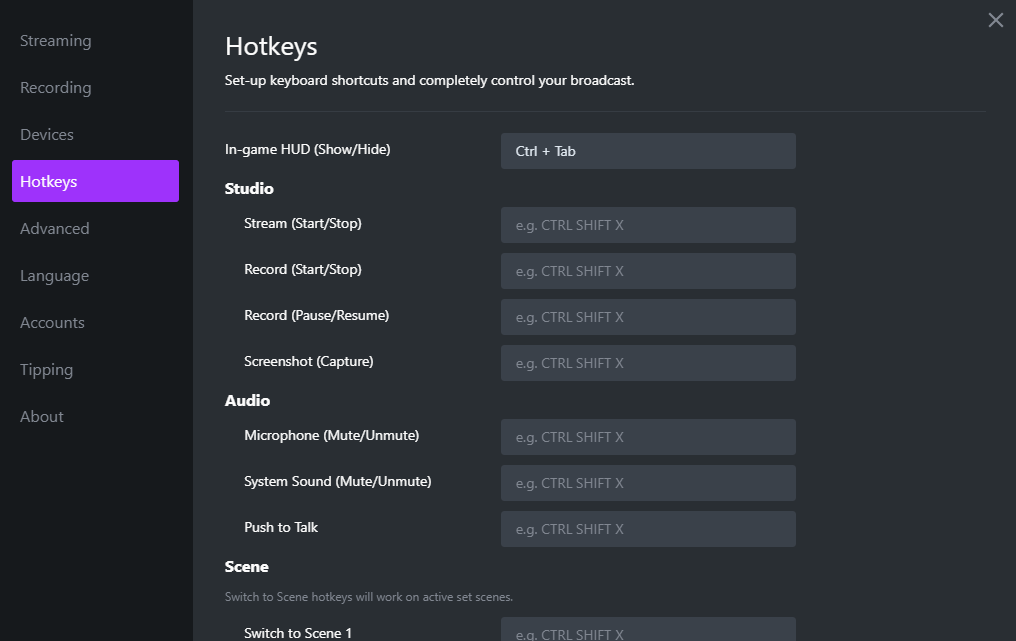
Using hotkeys is highly recommended for any streamer so you don’t need to alt-tab or jump to your second monitor to perform frequent tasks like muting your mic or switching scenes.
To add a hotkey to a specific function, simply click on the placeholder text that says, “e.g. CTRL SHIFT X” and then input your keyboard shortcut of choice.
To delete any of your hotkeys, click on the same space and hit Backspace or Delete.
DONATIONS
If you want a fast and seamless way to accept donations from your viewers, then you can set that up through Gamecaster as well.
Go to Settings > Tipping, then add your username and paypal email to get everything going.
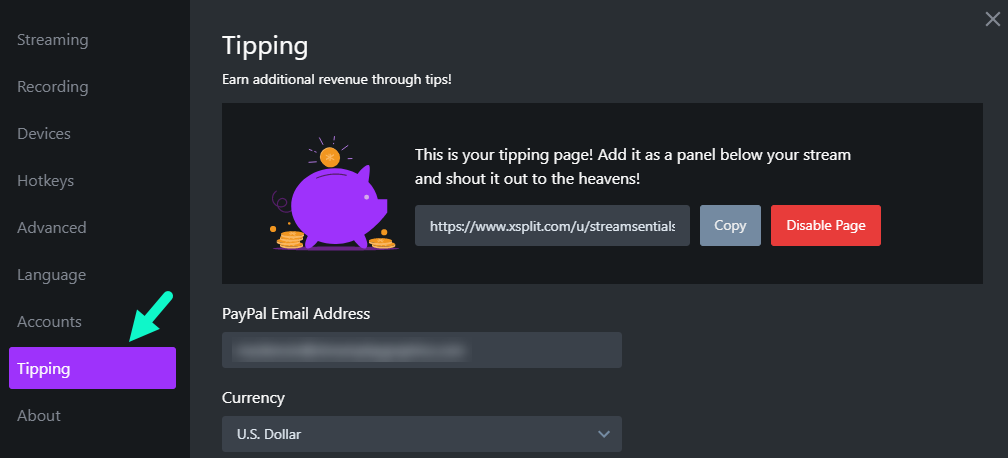
You can now copy the URL it generated for you and place it in your channels panel section, so that whenever one of your viewers wants to donate to your stream, they can do so by visiting that link.
SCENE CUSTOMIZATION
Gamecasters scene editor is great for fine tuning the look of your stream and making key customizations to amp up your production value.
You’ve pretty much got every feature a streamer could want all within the scene editor. You not only have control over your overlays, but a bunch of different widgets that are used by many streamers to enhance their stream.
Let’s quickly go over some of the main ones you’ll likely care about:
Alerts – Whenever one of your viewers follows, donates, subscribes, etc. to the stream you can set up graphical notifications that pop up during your stream.
They come with plenty of customization options like the notification duration, text to speech, and they even have a library of alert sounds you can use for each alert.
Labels – Perfect for displaying viewer events longer on your stream beyond just an alert popup. Like recent followers or top donators for example. Having labels on your stream is a great way to show your appreciation and even entice more viewer interactions.
Counters – If you like showing a daily follower or subscriber count on your stream, you can do that here. You can even change it from a daily counter, to weekly, monthly, yearly, or all time.
Goals – Set up a goal for any type of milestone you’re looking to achieve. From donation, to subscriber goals, it’s all done through this widget.
Trains – Having a follower, sub, or donation train is another great way to encourage your viewers to interact with your stream.
Chat – You have the option here to add your chat directly on your stream so your viewers can see the chat as well. This is great for viewers who like to watch you full-screen, or even beneficial if you upload your stream highlights to YouTube so people can see chat.
Event List – Similar to Labels, you can use the Event List to display recent viewer interactions. Some streamers use this as an alternative to using Alerts.
The best thing about all of these widgets is that Gamecaster does all the work for you. From the counters and goals, you don’t need to worry about manually updating the number counts. It’s all done for you through Gamecaster so you can focus on streaming and interacting with your viewers.
Another welcomed addition of the scene editor is the Snapping feature. Which allows you to line things up perfectly on your scene and helps prevent your OCD from kicking in.
TEST CENTER
If you’re wanting to see how your scene will look and perform before going live, you can click on the Test Center icon on the top right of the scene editor.
Here you can test things like your alerts and how all your widgets will look during your stream.
TRANSITIONS
The final thing we’ll be looking at for XSplit’s Gamecaster is their transitions feature, found right above your scenes in the sets module.
![]()
These transitions are animations that happen when you change from one scene to another. If you’ve ever watched one of Dr DisRespect’s streams, you’ll likely have seen one of his many unique transitions.
Gamecaster has about 20 default transitions you can use, and you can also modify the duration of these transitions (found at the bottom of the transitions list).
CUSTOM TRANSITIONS
If you’re wanting to use your own custom stream transitions, then you’re in luck, with a recent patch you can now do so!
To set that up, you’ll need to navigate to the following folder on your computer:
Program Files > SplitmediaLabs > XSplit Gamecaster > Transitions
Once you’re in that folder, simply copy and paste your stinger transition(s) to this folder, then close and restart Gamecaster. You’ll now see your custom transition(s) under the transitions dropdown.
*The custom transitions need to be a .webm file for them to work.
WRAP UP
You’re now well equipped to use XSplit Gamecaster for your streams!
It truly is one of the best options out there for an all-in-one streaming app so you don’t have to download and run multiple software while streaming. Everything you need is all in one place.
And if you haven’t jumped on board the Gamecaster hype train yet and you were just reading this to get an overview of what the app has to offer for your stream, then there’s no better time than now to get involved.
You can claim your Founder’s License while they’re still in beta so you’ll get free access to Gamecaster for life.
Download it here to get started!

I think that to be perfect, the recording is missing the webcam while recording, and also a bar with the main functions, record, stop, etc. Maybe include all this in the Hud, to control it from the game screen.